Radio Programming | Motorola CP200 to Vertex VX231
How to programming the Motorola CP200 two way radio to work with the Vertex Standard VX231 radios.
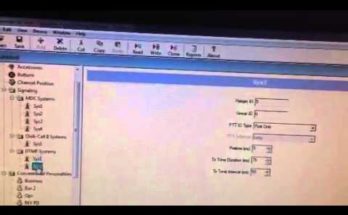
5 and we also need to write downanother important piece of information which isthe squelch type here.
so we can see that it’s a TPL that’sbeen selected because the DPL here’s a greyed out so go ahead and ignore that and then it’s a TPL and we look down here and it’s 107.
2 and it matches on the other side.
So go ahead and write that down for channel one and then we’ll go down to channel 2here and it’s 467.
86 for the transmit and receive so you can go ahead and jot that down and then notice here that in this circumstance a DPL is selected.
TheTPL now is greyed out so we have a 567 DPL for the second channel here and lastchannel channel 3 on the CP200 the 451.
25 for the transmit and receive and then and then we can see here a TPL has been selected so go ahead and jot down the 229.
1.
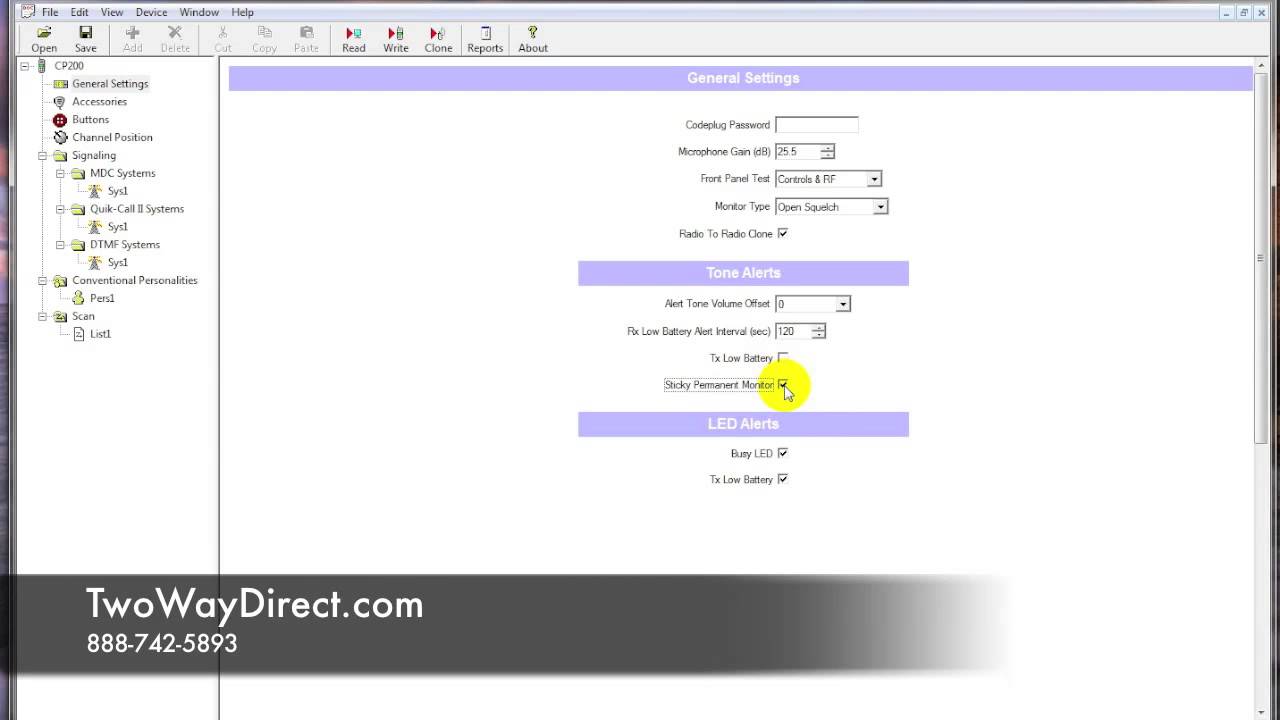
One other thing to note onthis radio is it has not been narrow banded so a quick touch on an in order tonarrowband your CP200 we’re gonna go over to the channel bandwidth and the kHz space in here and go ahead and select twelve and ahalf for personalities 3 2 and 1 and then go ahead and write that backinto the radio so that it meets the FCC regulations of narrowbanding.
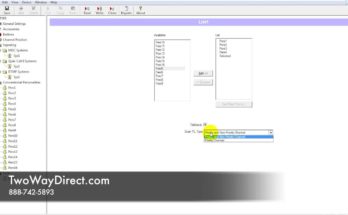
So now you’ve written down the frequencies and narrowbanded your CP200 and go down to the VX230.
So go aheadand plug into USB cable for the 231 and make sure that you’ve installed the drivers and that you’vegone up and configured which comport that that’s set to and then go ahead and you’re gonna read the 231 so click on the arrow here facing the computer screen ifyou highlight over it it’ll give you a preview so we know that one is read and now we’re gonna go ahead and follow the instructions.
So switch the radio on and off and you’ll see the programming indicator and read complete.
So now we’re just gonna go down the line here and alter this archive to be matched up with the CP200.
Now on the CP200 we saw that it was only a 3 channel radio so we’re going to go ahead and deactivate these remaining channels by just double clicking on the side here.
And as I do that you can see that andinformation becomes grayed out and now we have the threechannels here so then you’re gonna go ahead and type in those frequencies that we pulled off of the CP200 so as you can see already the 231’s already come narrowbanded.
I can’t even change this to wideband if I double click on there.
Source: Youtube